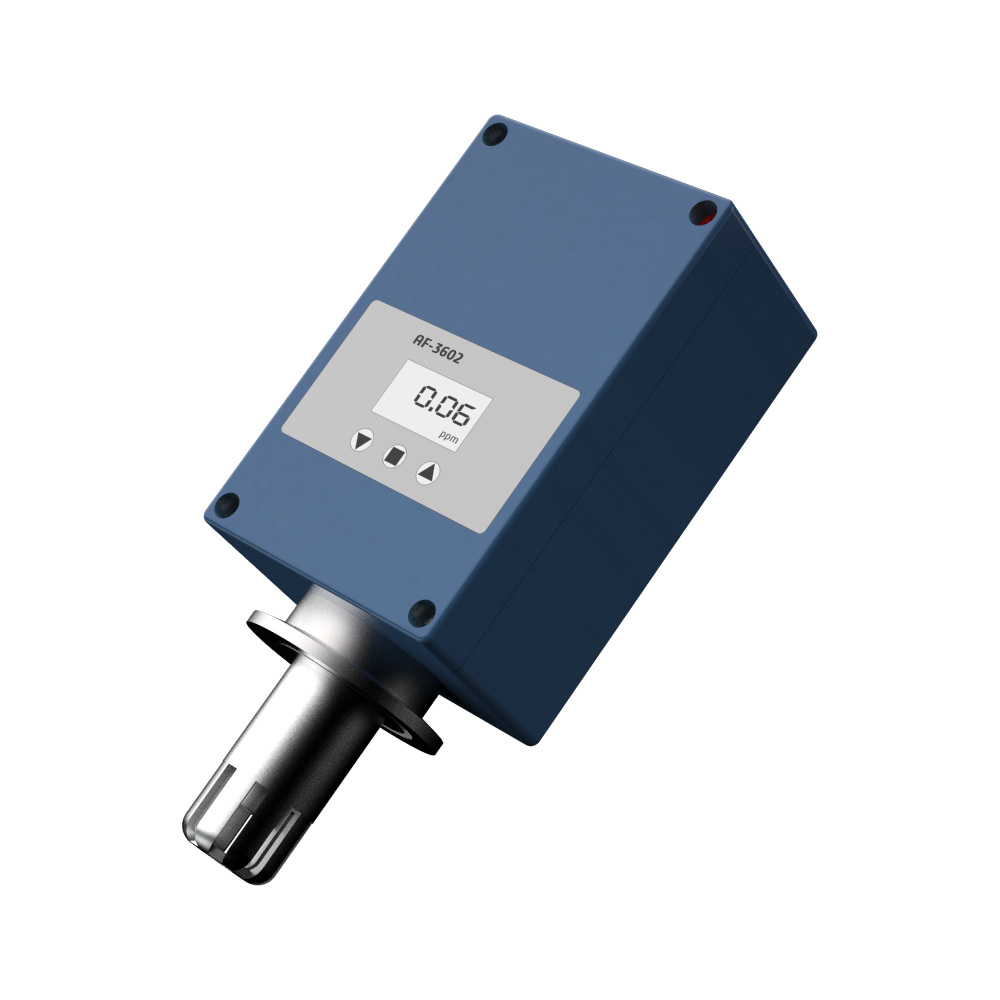
Zirconia oxygen analyzer is a commonly used gas detection instrument, which has certain applications in many industries. The user will experience certain failures and wear during the use of the zirconia oxygen analyzer, and these problems will cause the problem of reduced service life after a long time.
- The oxygen analyzer plays a vital role in the measurement of the oxygen content of the combustion flue gas of the roaster. It provides an effective technical guarantee for the alumina production control index and at the same time provides a safety guarantee for the stable operation of the process control. The zirconia zirconia tube on the core component of the zirconia oxygen content analyzer, due to various reasons, has a high failure rate and a short service life of the oxygen analyzer probe in production, which increases the cost of instrument equipment consumption. Zirconia zirconia tubes are also extremely vulnerable to damage, such as vibration.
- The main reason for frequent probe replacement
(1) The working environment of zirconia components is very complicated. The flue gas in the furnace contains a large number of high-temperature flowing alumina dust particles. The temperature difference of the furnace body here fluctuates between 300 and 500 ℃, the vibration is large, and the ambient temperature in summer will reach Around 220°C. Due to long-term erosion and corrosion, the zirconium oxide components are worn and even broken.
(2) The temperature of the environment is too high in hot summer weather, and the terminal box is very close to the furnace body, which easily deforms the terminal box.
(3) The probe is installed on the top layer of the furnace body. The vibration of the furnace body and the resonance of the process during normal operation will seriously affect the reliable and stable operation of the probe, and often lead to fluctuations in the indication value, and even damage to the probe.
(4) When the probe fails, you may not have enough understanding of the basic skills. Once a problem occurs, replace the probe, which objectively covers the cause of the failure and cannot find the crux of the problem. Due to the lack of fault judgment ability, mistakenly believe that the probe is damaged, replacing the probe, artificially increasing the consumption cost. For example, the calibration gas pipe is worn through, and the instrument fluctuates in a wide range. The usual solution is to replace the probe.
- Improvement measures
(1) Add a protective cover made of stainless steel and a protective ring made of stainless steel. In view of the wear of the zirconia element caused by the material washing, a protective cover or a protective ring made of stainless steel can be added to the probe tip. The protective cover can protect the element and the casing The front side of the high temperature material is directly washed. The protective ring only protects the component part from the direct flush of the high temperature material.
(2) Lengthen the length of the mounting flange to the terminal box. Due to the high temperature on the surface of the furnace body, despite the asbestos insulation layer on the surface of the furnace body, the heat radiation is still very serious, the probe installation time is not long, and the plastic terminal is deformed and damaged. By lengthening the length of the mounting flange to the terminal box, the heat radiation dose is reduced.
(3) Adding spring washers and sealing gaskets In order to avoid the harm caused by vibration to the instrument, spring washers are added to the flange mounting ribs to reduce the vibration of the instrument itself; at the same time, when replacing the probe, install the flange and flue Sealing gaskets must be filled between the fixed flanges and screws must be tightened to ensure a good seal and prevent outside air from being sucked into the furnace body and affecting the measurement results.
(4) Improve the technical level of personnel. In order for maintenance personnel to judge faults more accurately, add technical training content, and disassemble the detection, installation and repair of each part of the zirconia analyzer probe in detail; at the same time, combined with typical failure cases, the zirconia analyzer Give a comprehensive and detailed technical knowledge lecture to solve the difficult problems encountered in maintenance. For example, for the failure mentioned in the cause, we found through analysis that in addition to the damage of the calibration gas pipe, there is obvious dust accumulation in the zirconia sensor, and the sensor shows no signs of damage. After cleaning the sensor, the reference gas input port is blocked. , Tested after reinstallation, it works normally. It shows that the damage of the calibration gas pipe will affect the oxygen concentration in the sensor, and the dust accumulation on the negative side of the sensor will directly affect the measurement sensitivity of zirconia. For this reason, blind replacement of the probe is eliminated, and the service life of the probe is effectively extended.

